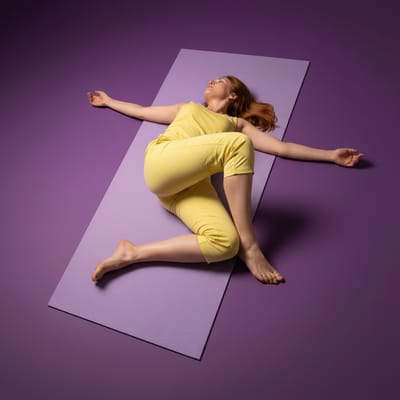
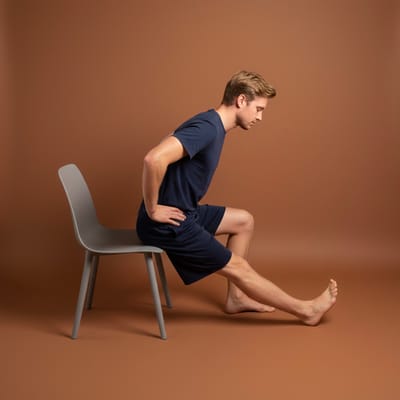
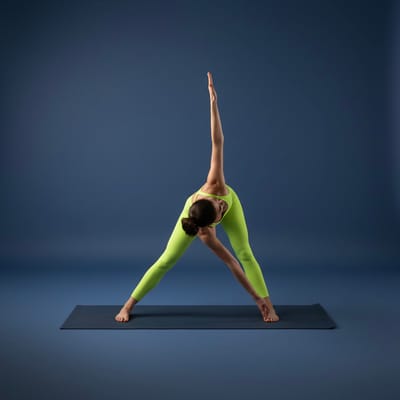
90/90
90-90
Beginner
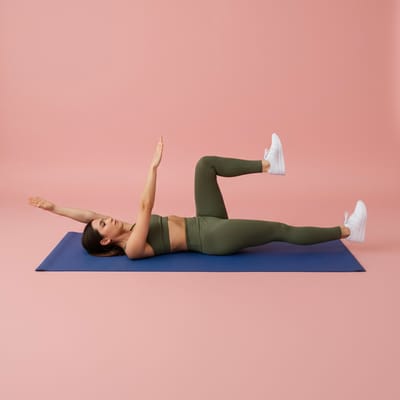
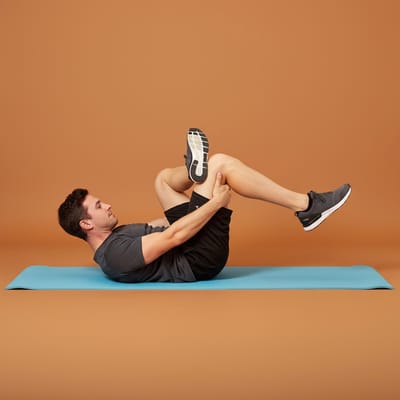
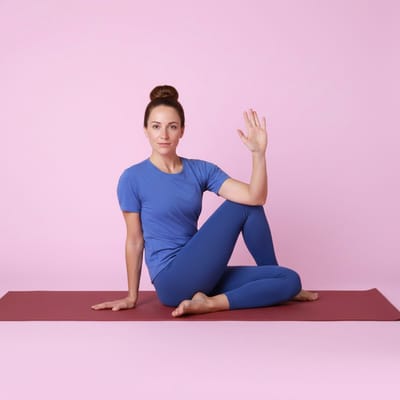
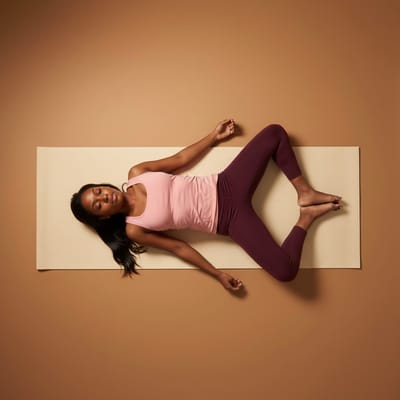
both sides90/90 Hip Switch
90-90-hip-switch
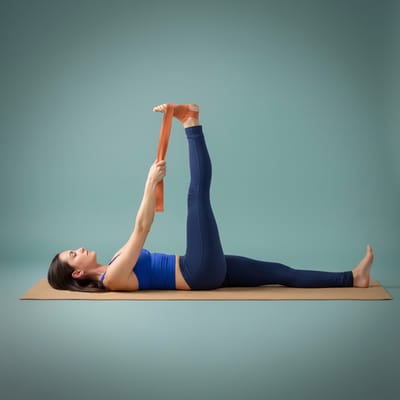
Beginner90/90 Hip Switch Extension
90-90-hip-switch-extension
Intermediate90/90 Hip Switch (No Hands)
90-90-hip-switch-no-hands
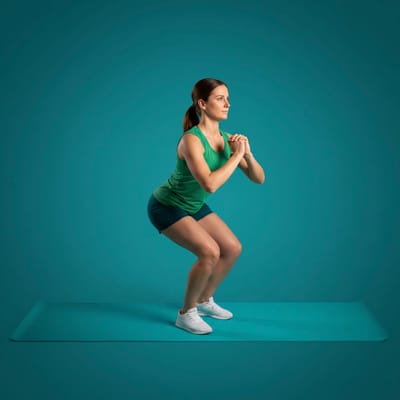
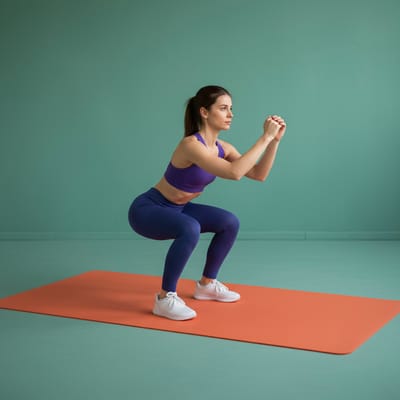
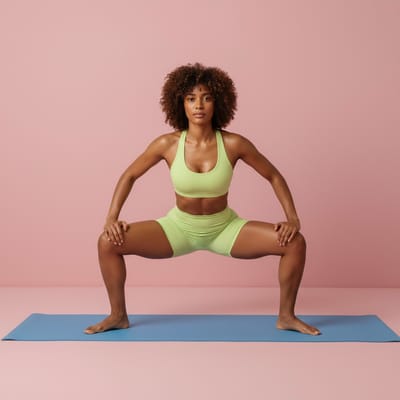
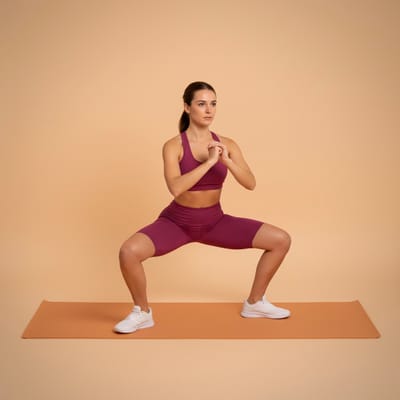
IntermediateAir Squats
air-squats
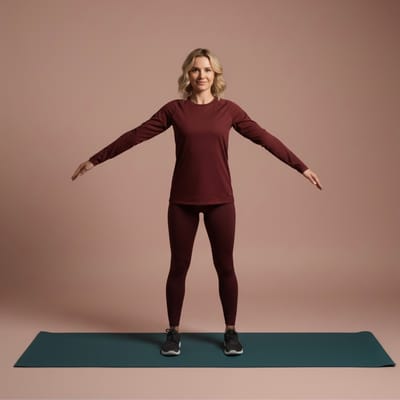
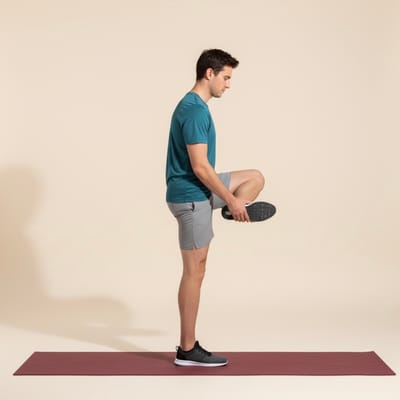
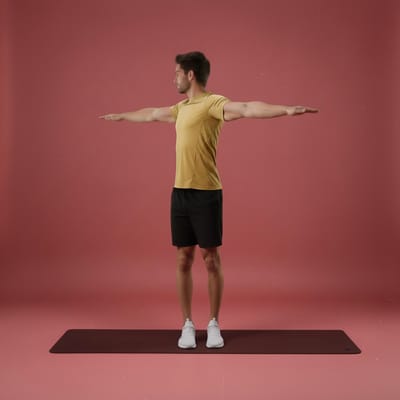
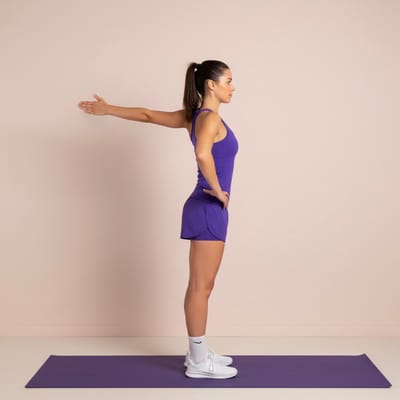
BeginnerAirplane
airplane
BeginnerAnkle Circles
ankle-circles
Beginner
both sidesAquaman
aquaman
Beginner
both sidesArm Circles
arm-circles
Beginner
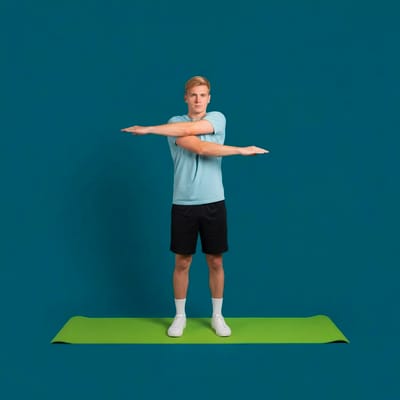
both sidesArm Swings
arm-swings
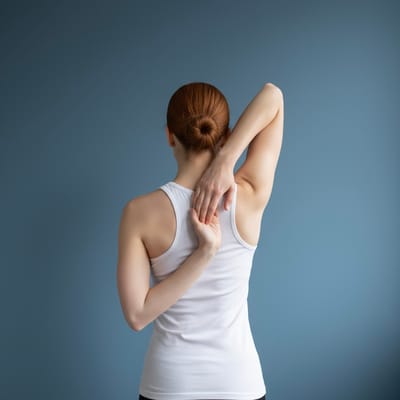
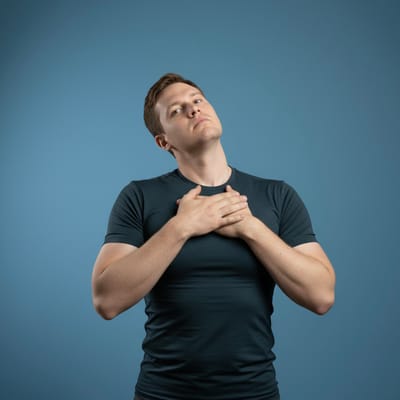
BeginnerBear Hug
bear-hug
Beginner
both sidesBent Arm Pike
bent-arm-pike
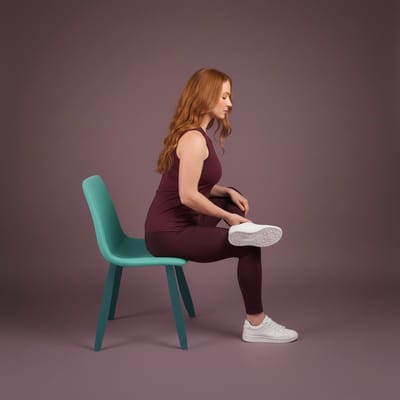
IntermediateBent Over Calf
bent-over-calf
Beginner
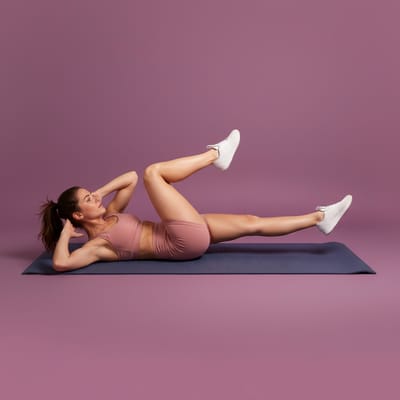
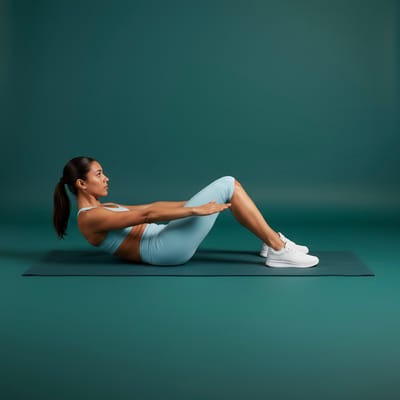
both sidesBicycle Crunch Hold
bicycle-crunch-hold
Intermediate
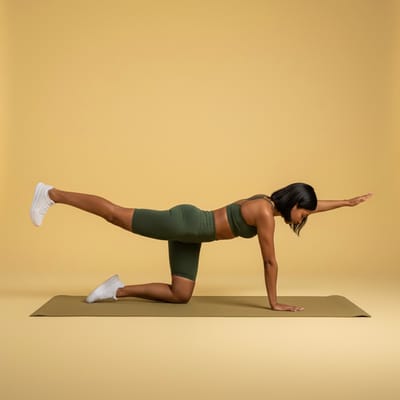
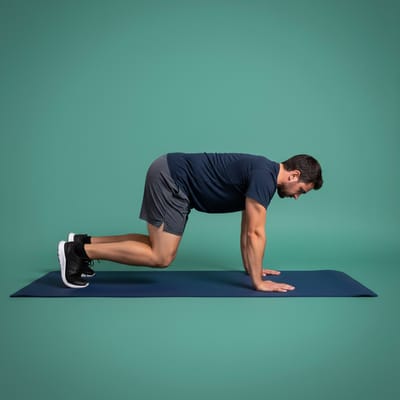
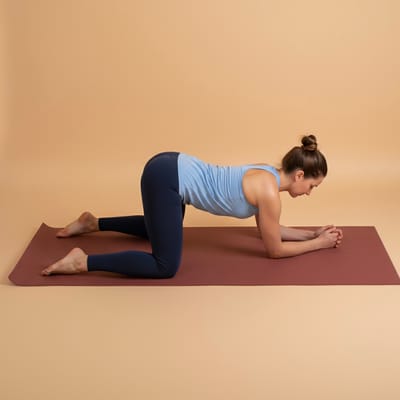
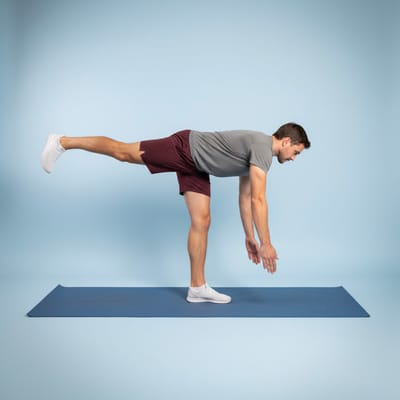
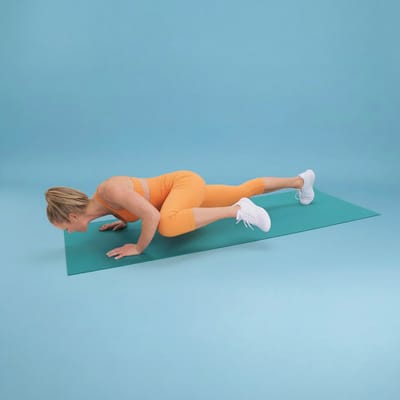
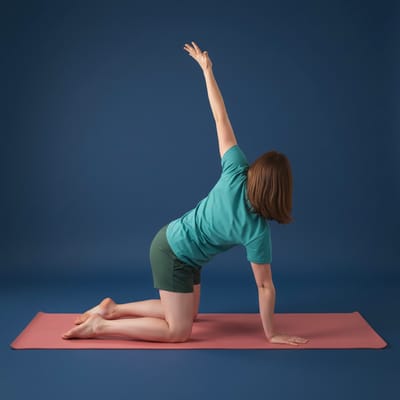
both sidesBird Dog
bird-dog
Beginner
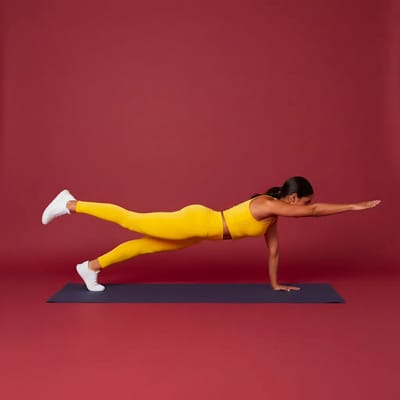
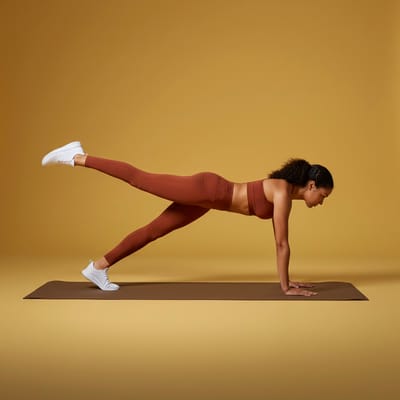
both sidesBird Dog Plank
bird-dog-plank
Intermediate
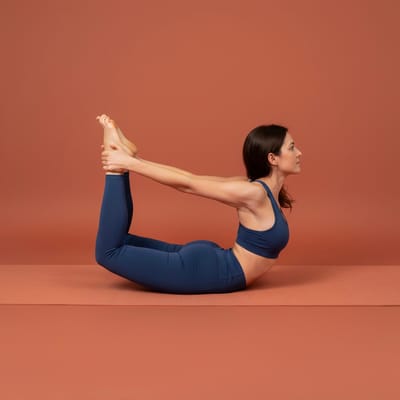
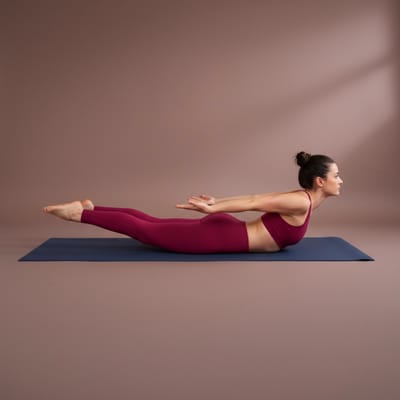
both sidesBow Pose
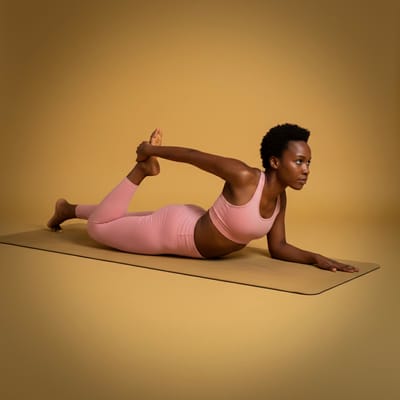
bow-pose
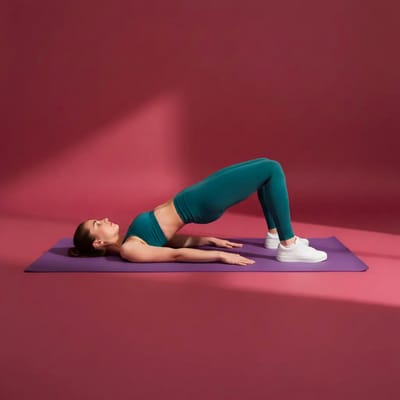
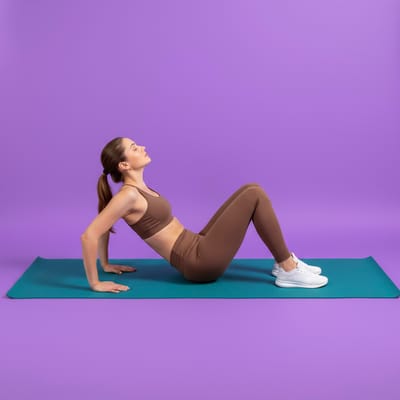
IntermediateBridge
bridge
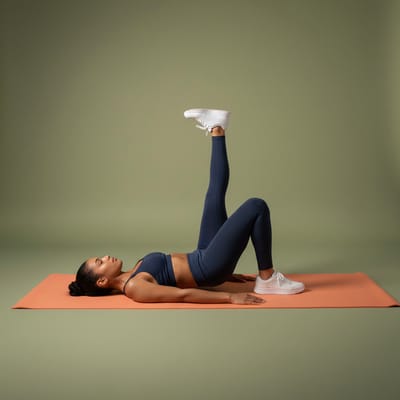
BeginnerBridge Leg Lift
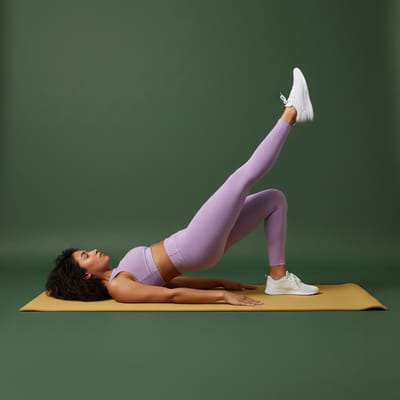
bridge-leg-lift
Intermediate
both sidesBulldog
bulldog
IntermediateButt Kicks
butt-kicks
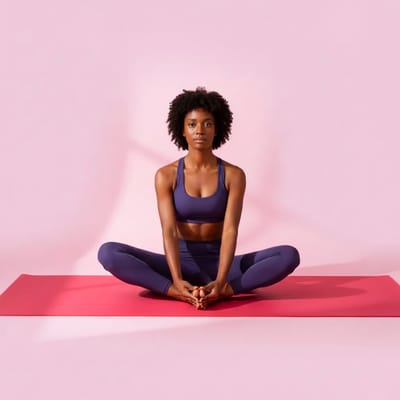
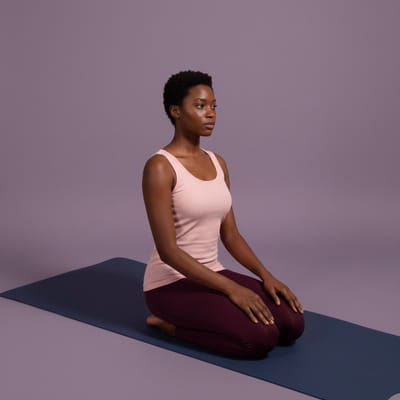
BeginnerButterfly
butterfly
BeginnerCactus Arms
cactus-arms
BeginnerCalf Raises
calf-raises
BeginnerCamel Pose
camel-pose
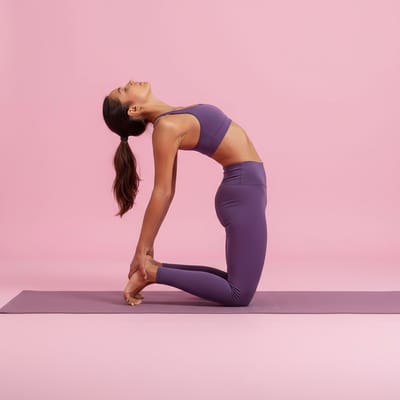
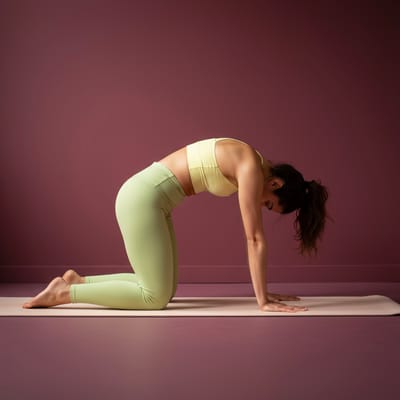
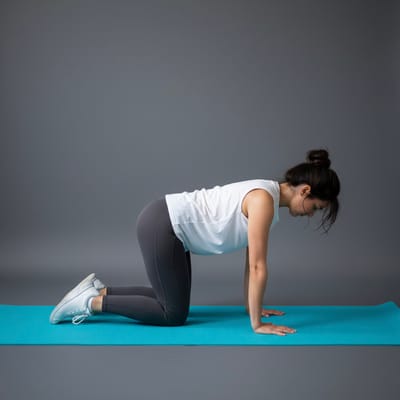
IntermediateCat Cow
cat-cow
BeginnerChest Opener
chest-opener
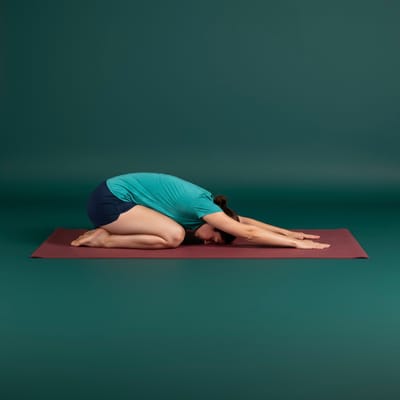
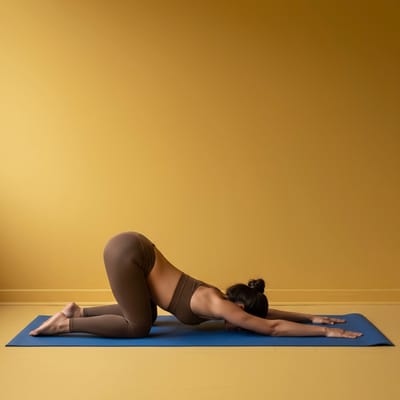
BeginnerChild's Pose
childs-pose
BeginnerChin Retractions
chin-retractions
BeginnerCow Face
cow-face
Intermediate
both sidesCross Leg Fold
cross-leg-fold
Beginner
both sidesCrunch Hold
crunch-hold
BeginnerCurtsy Lunge Hold
curtsy-lunge-hold
Intermediate
both sidesDead Bug
dead-bug
Beginner
both sidesDeep Split Squat
deep-split-squat
Intermediate
both sidesDip Hold
dip-hold
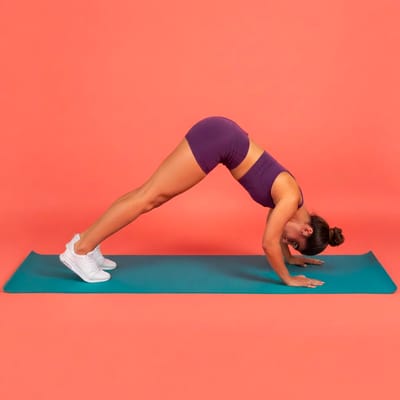
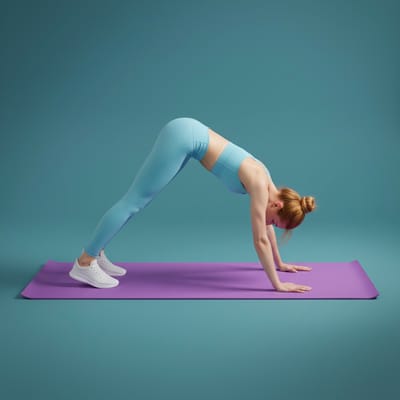
BeginnerDiver
diver
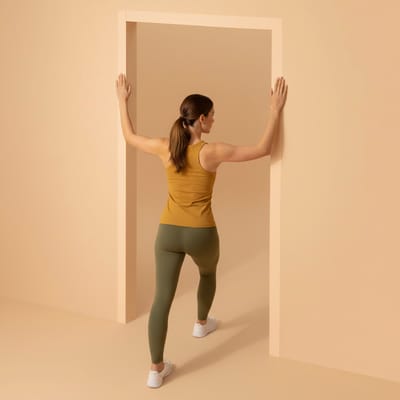
BeginnerDoorway Pecs
doorway-pecs
BeginnerDouble Pigeon
double-pigeon
Intermediate
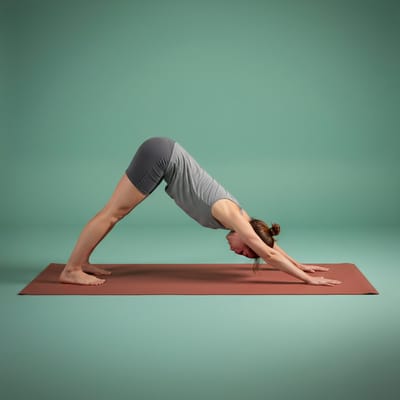
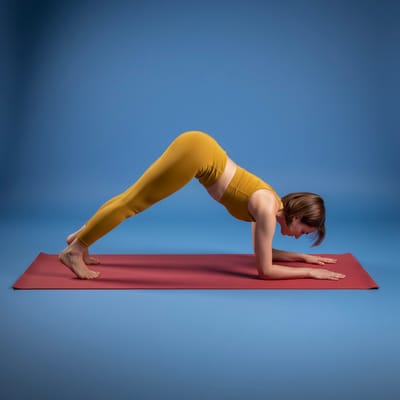
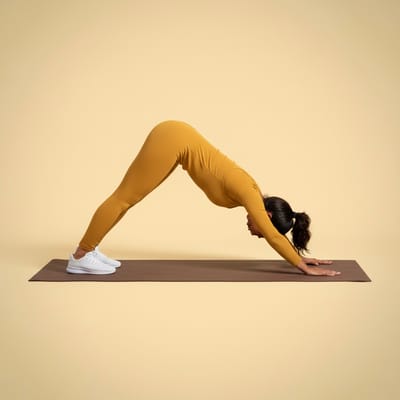
both sidesDownward Dog
downward-dog
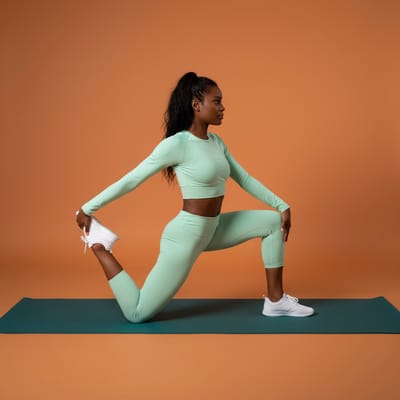
BeginnerDynamic Quad Stretch
dynamic-quad-stretch
Beginner
both sidesDynamic Side Bends
dynamic-side-bends
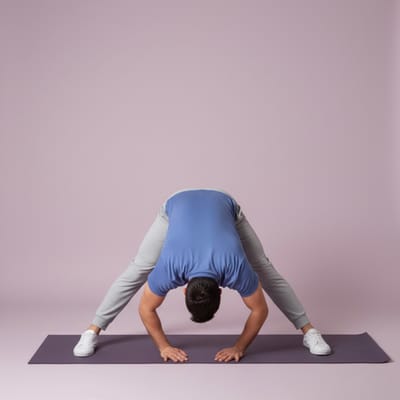
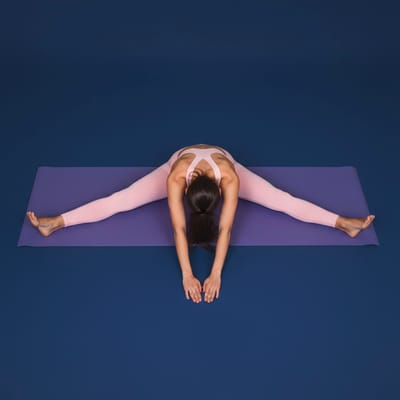
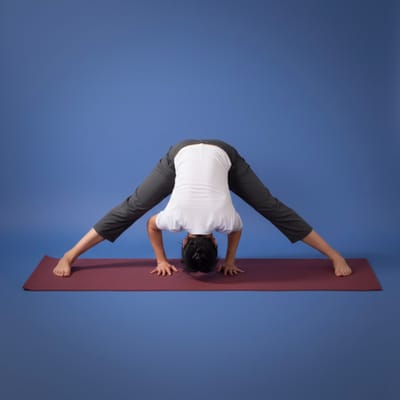
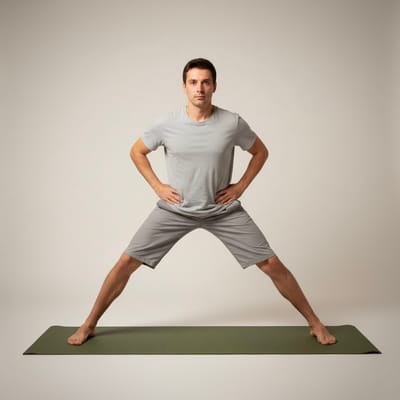
BeginnerDynamic Wide Leg Forward Fold
dynamic-wide-leg-forward-fold
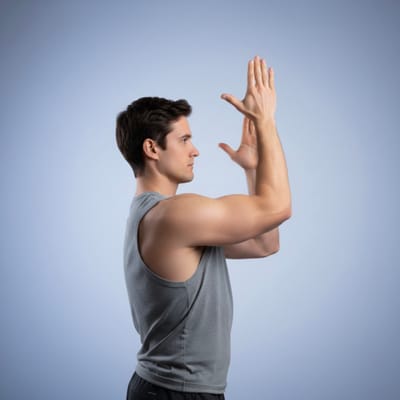
BeginnerEagle Arm
eagle-arm
Beginner
both sidesEar-to-Shoulder
ear-to-shoulder
Beginner
both sidesElbow Pike
elbow-pike
IntermediateElbow Plank
elbow-plank
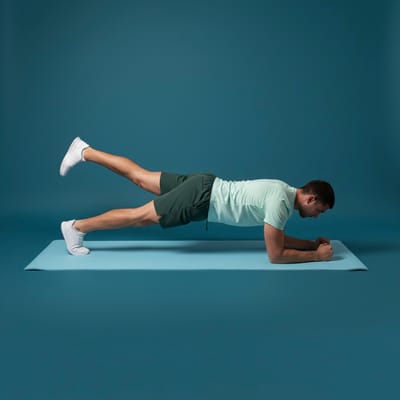
BeginnerElbow Plank Leg Lift
elbow-plank-leg-lift
Intermediate
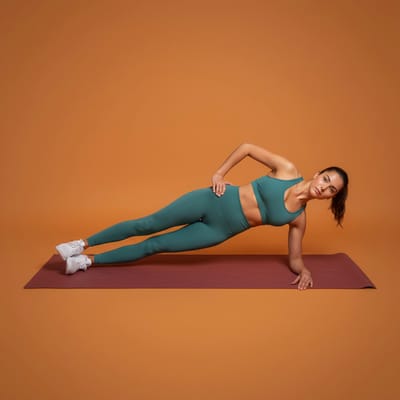
both sidesElbow Side Plank
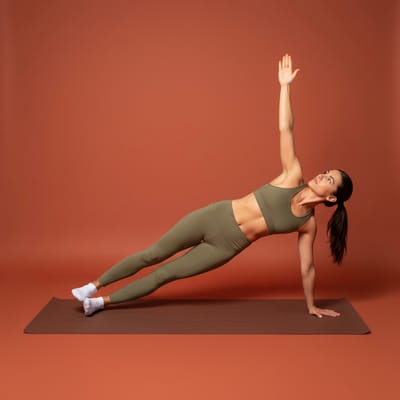
elbow-side-plank
Beginner
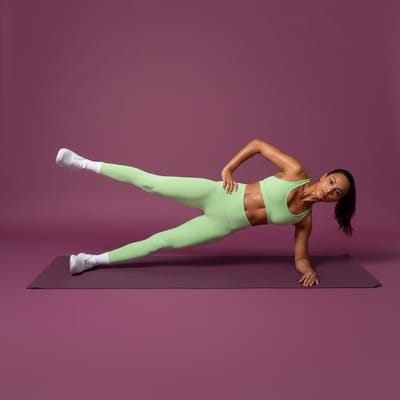
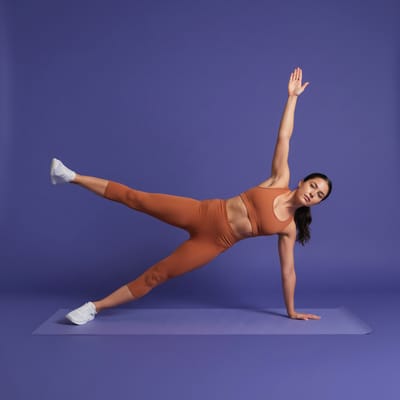
both sidesElbow Side Plank Leg Lift
elbow-side-plank-leg-lift
Intermediate
both sidesFigure Four Twist
figure-four-twist
Beginner
both sidesFolded Butterfly
folded-butterfly
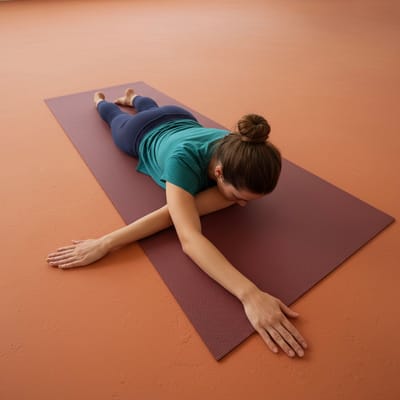
BeginnerForearm Stretch
forearm-stretch
Beginner
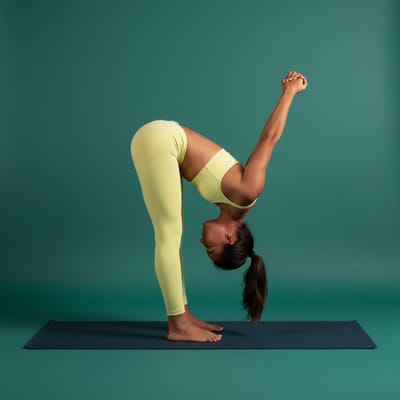
both sidesForward Fold
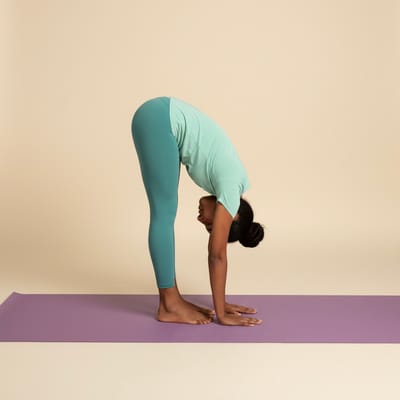
forward-fold
BeginnerFrog Pose
frog-pose
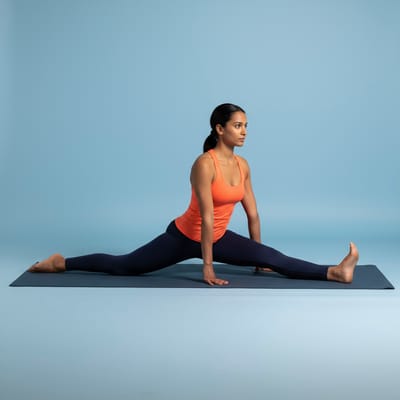
IntermediateFront Split
front-split
Advanced
both sidesGate Opener
gate-opener
Beginner
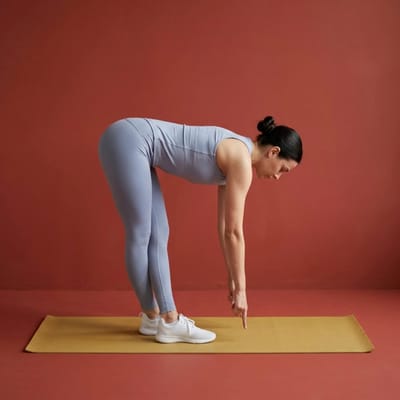
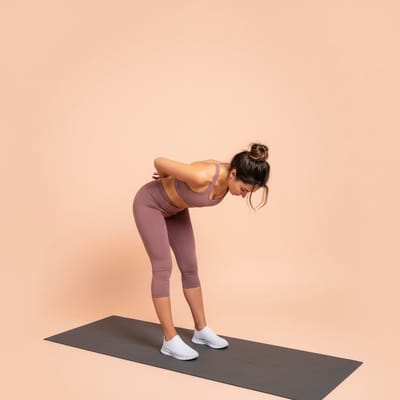
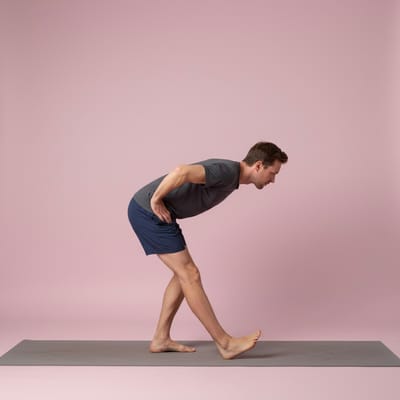
both sidesGood Mornings
good-mornings
BeginnerHalf Bow
half-bow
Intermediate
both sidesHamstring Pulls
hamstring-pulls
Beginner
both sidesHamstring Scoops
hamstring-scoops
Beginner
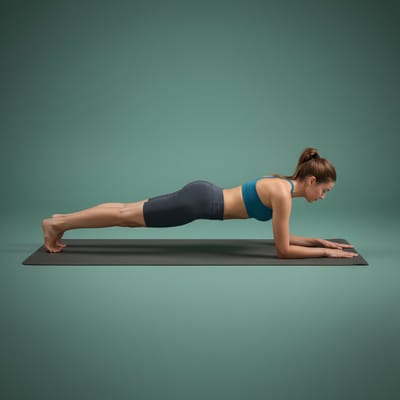
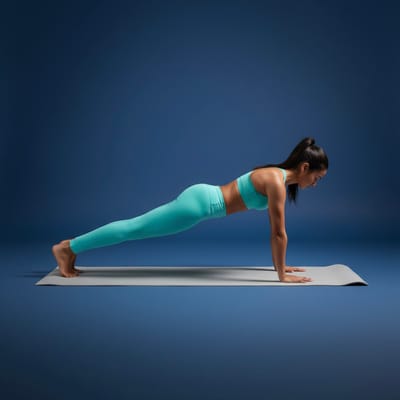
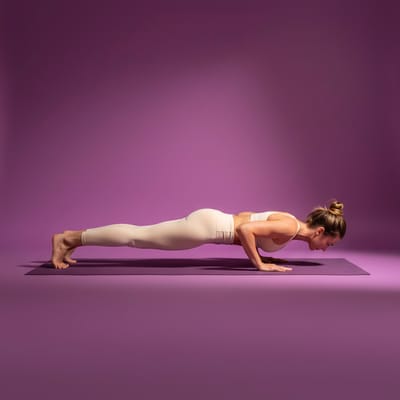
both sidesHand Plank
hand-plank
BeginnerHand Plank Leg Lift
hand-plank-leg-lift
Intermediate
both sidesHand Side Plank
hand-side-plank
Beginner
both sidesHand Side Plank Leg Lift
hand-side-plank-leg-lift
Intermediate
both sidesHappy Baby
happy-baby
BeginnerHeel-to-Toe Rocks
heel-to-toe-rocks
BeginnerHigh Knee Twists
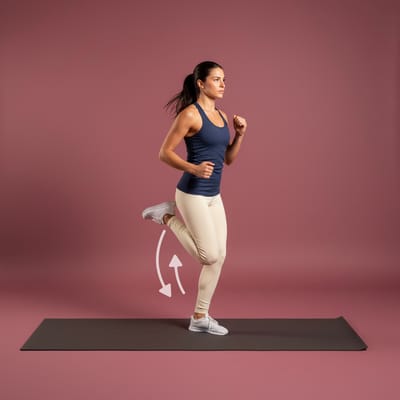
high-knee-twists
BeginnerHigh Knees
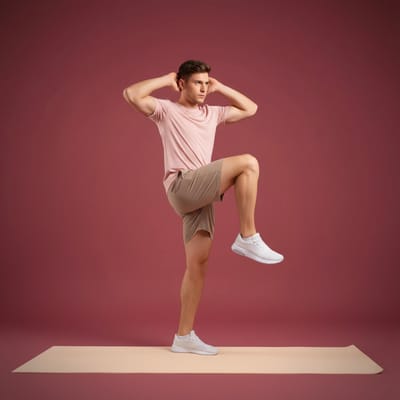
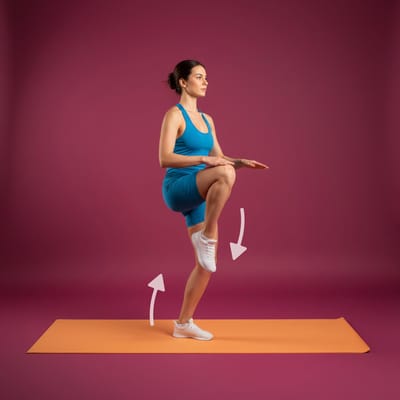
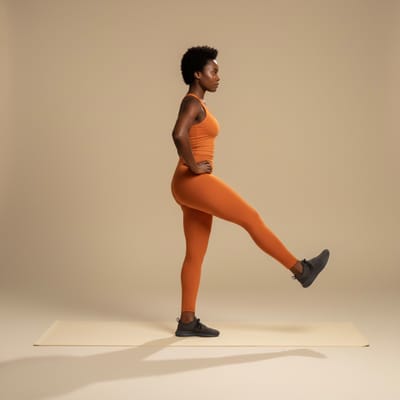
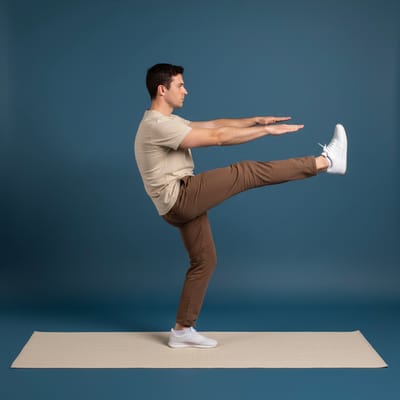
high-knees
BeginnerHip Circles
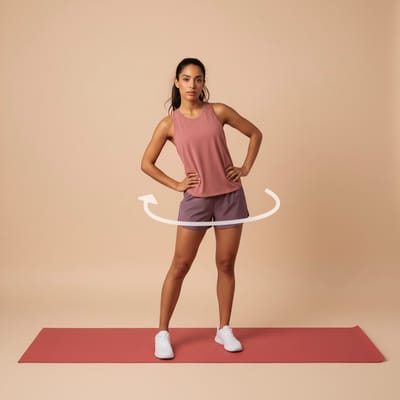
hip-circles
Beginner
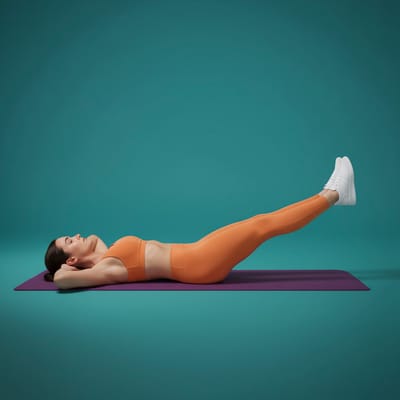
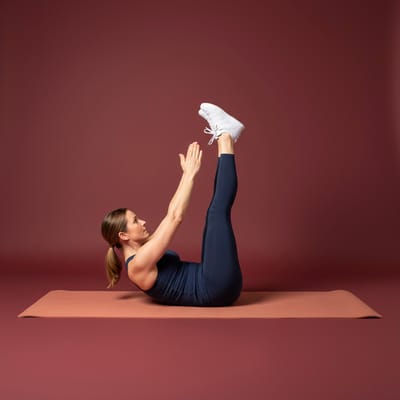
both sidesHollow Body
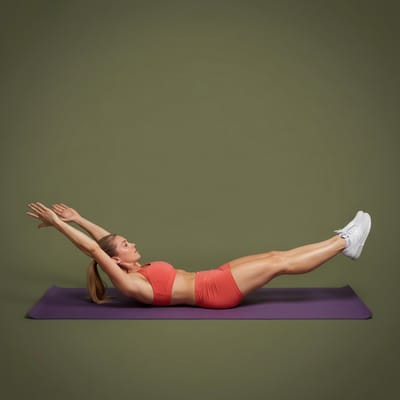
hollow-body
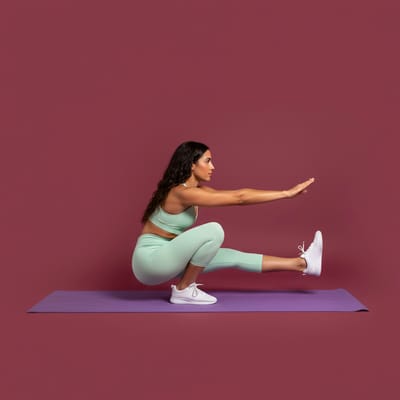
IntermediateHurdler
hurdler
Beginner
both sidesJumping Jacks
jumping-jacks
BeginnerKnee Circles
knee-circles
Beginner
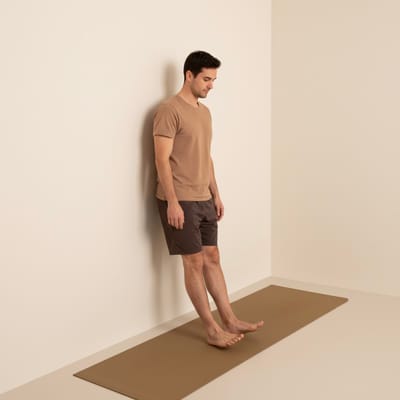
both sidesKnee-to-Wall
knee-to-wall
Beginner
both sidesKneeling Hip Circles
kneeling-hip-circles
Beginner
both sidesKneeling Psoas
kneeling-psoas
Beginner
both sidesKneeling Quad
kneeling-quad
Beginner
both sidesKnees Hugs
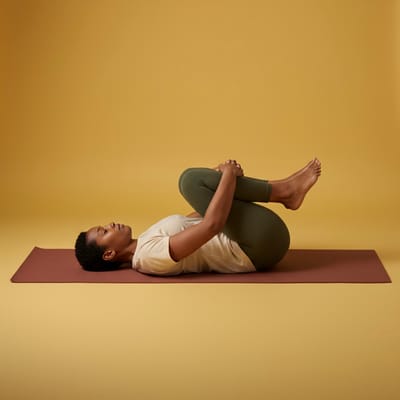
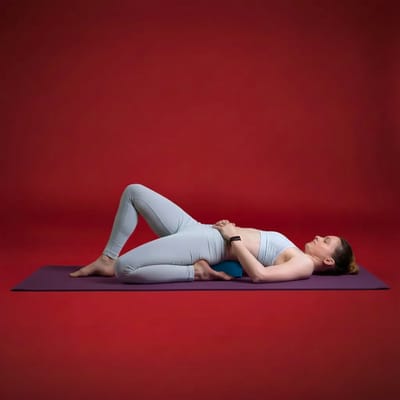
knees-hugs
BeginnerKnees-to-Chest
knees-to-chest
BeginnerLateral Foot Rocks
lateral-foot-rocks
BeginnerLateral Leg Swing
lateral-leg-swing
Beginner
both sidesLateral Lunge
lateral-lunge
BeginnerLeaning 90/90
leaning-90-90
Beginner
both sidesLeaning Calf
leaning-calf
Beginner
both sidesLeaning Figure Four
leaning-figure-four
Beginner
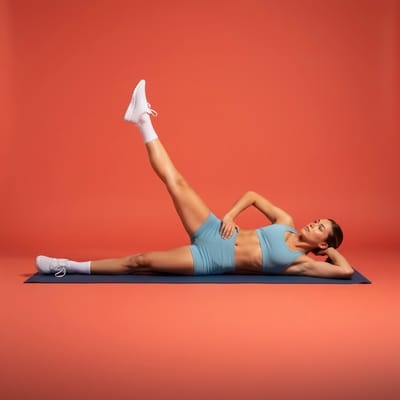
both sidesLeg Lift
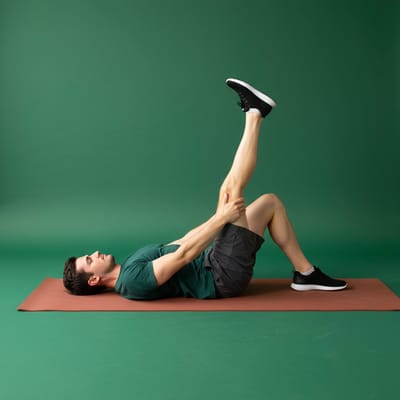
leg-lift
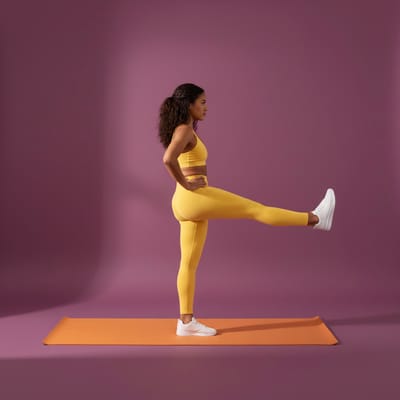
IntermediateLeg Swings
leg-swings
Beginner
both sidesLegs-up-Wall
legs-up-wall
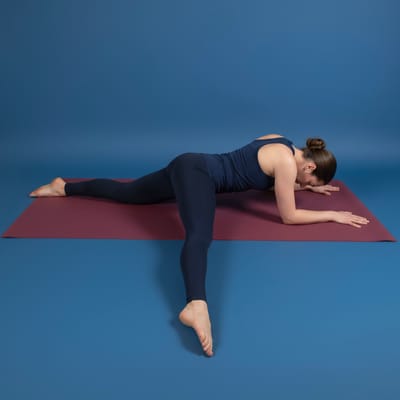
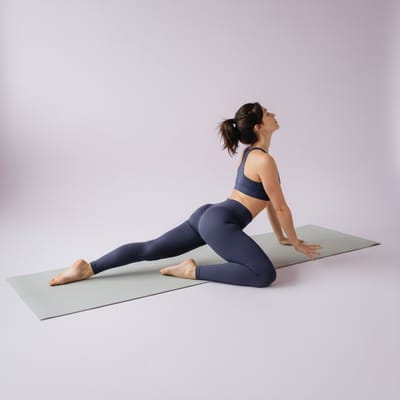
BeginnerLizard Pose
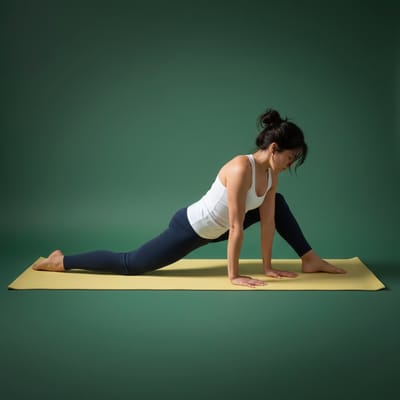
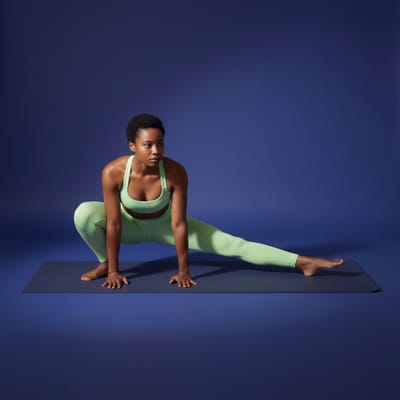
lizard-pose
Intermediate
both sidesLocust Pose
locust-pose
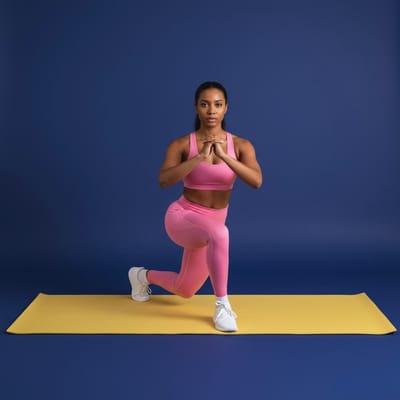
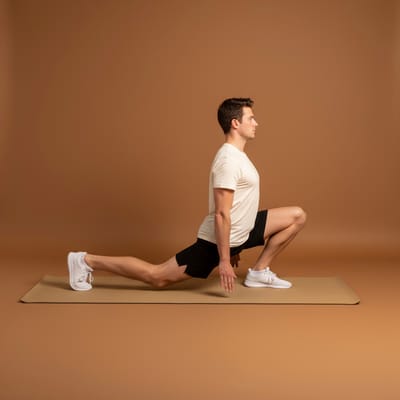
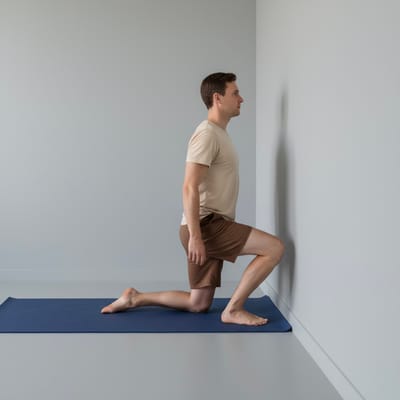
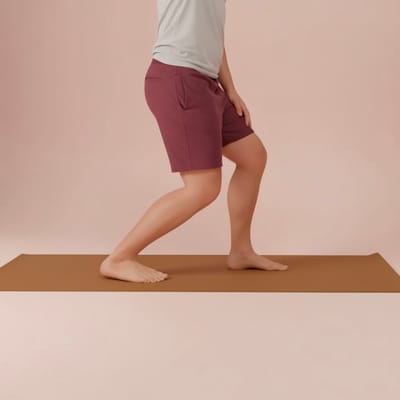
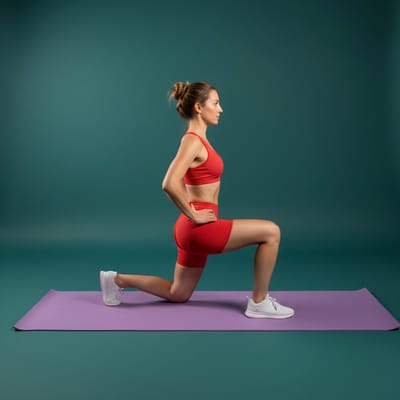
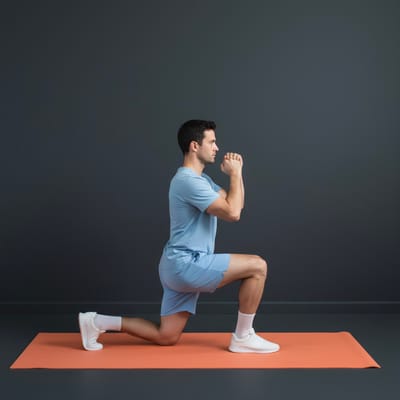
BeginnerLunge
lunge
Beginner
both sidesLying Ankle Circles
lying-ankle-circles
Beginner
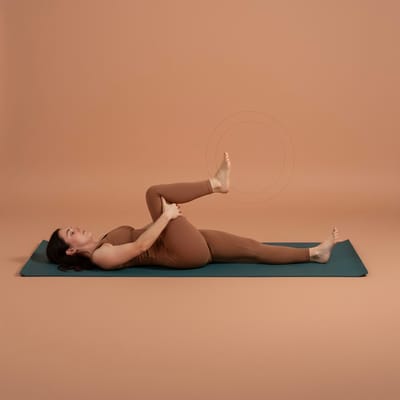
both sidesLying Figure Four
lying-figure-four
Beginner
both sidesLying Hamstring
lying-hamstring
Beginner
both sidesLying Quad Stretch
lying-quad-stretch
Beginner
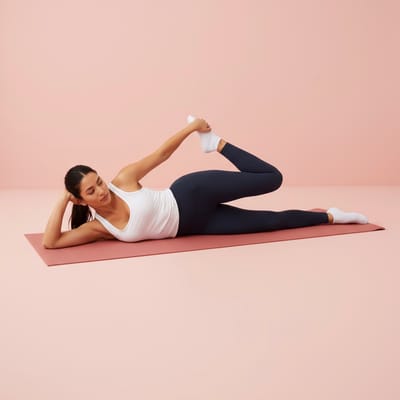
both sidesLying Side Leg Raise
lying-side-leg-raise
Beginner
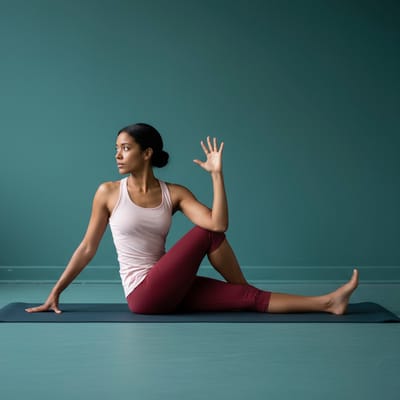
both sidesModified Seated Twist
modified-seated-twist
Beginner
both sidesNarrow Push Up Hold
narrow-push-up-hold
IntermediateNarrow Squat Hold
narrow-squat-hold
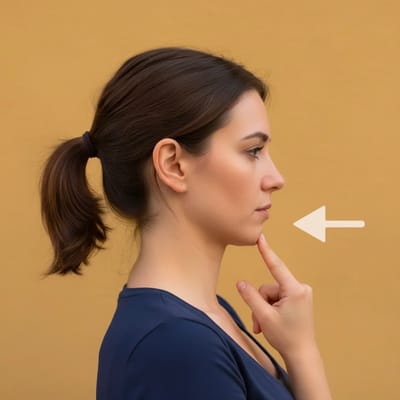
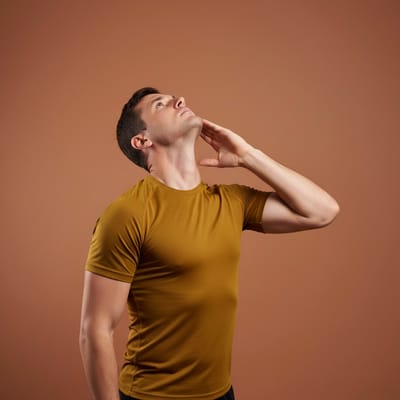
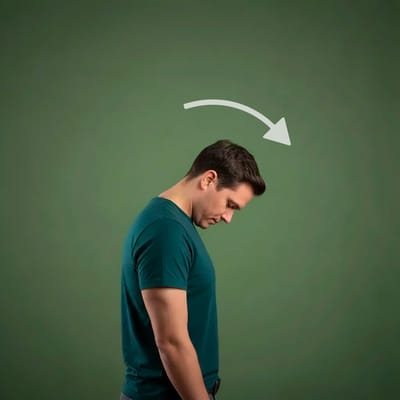
BeginnerNeck Extension
neck-extension
BeginnerNeck Flex
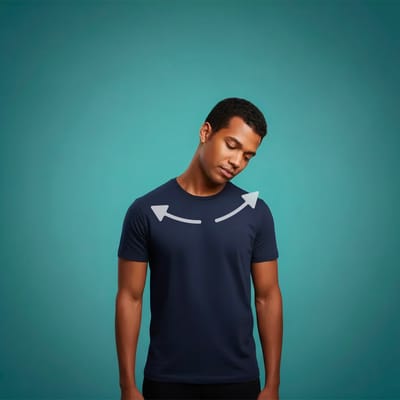
neck-flex
Beginner
both sidesNeck Flexion
neck-flexion
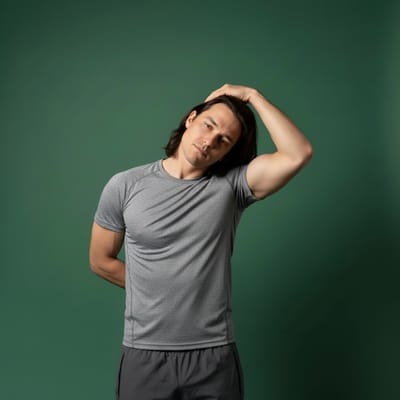
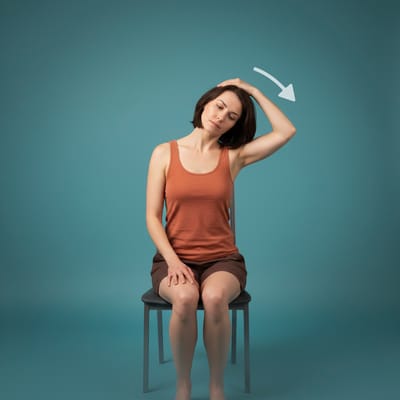
BeginnerNeck Laterals
neck-laterals
Beginner
both sidesNeck Roll
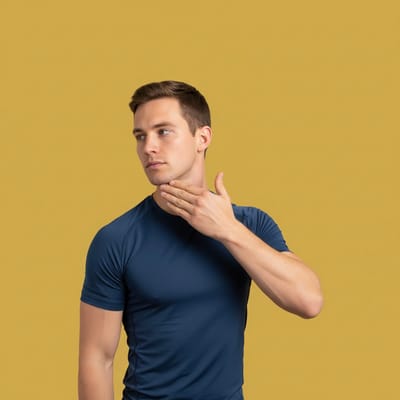
neck-roll
BeginnerNeck Rotation
neck-rotation
Beginner
both sidesOne Arm Hug
one-arm-hug
Beginner
both sidesOverhead Reach
overhead-reach
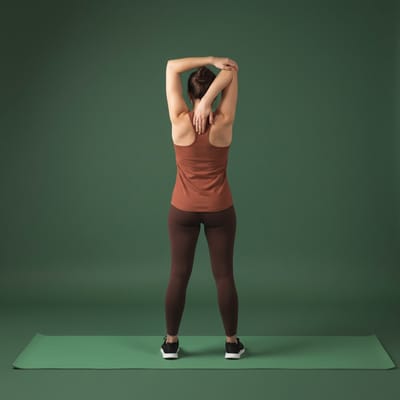
BeginnerOverhead Tricep
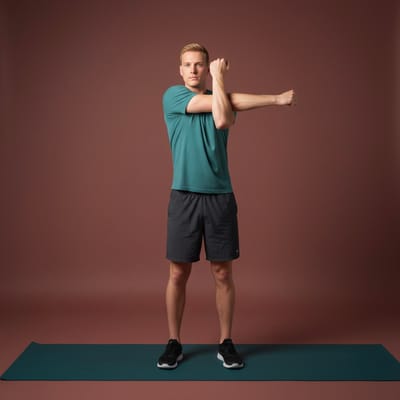
overhead-tricep
Beginner
both sidesPelvic Tilt Press
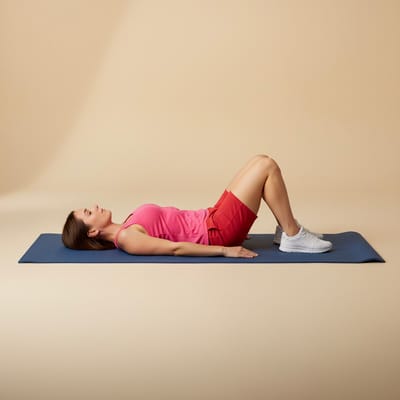
pelvic-tilt-press
BeginnerPigeon
pigeon
Intermediate
both sidesPike
pike
IntermediatePistol Squat Hold
pistol-squat-hold
Advanced
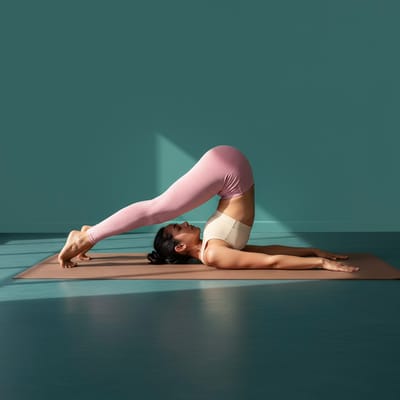
both sidesPlow
plow
AdvancedPuppy Pose
puppy-pose
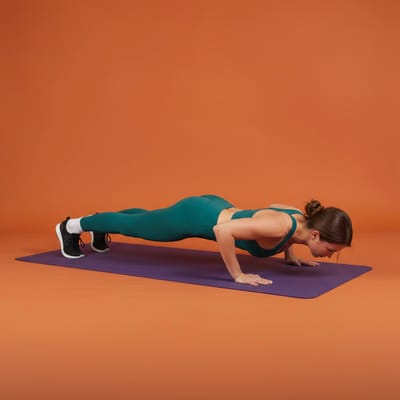
BeginnerPush Up Hold
push-up-hold
IntermediateQuad Stretch
quad-stretch
Beginner
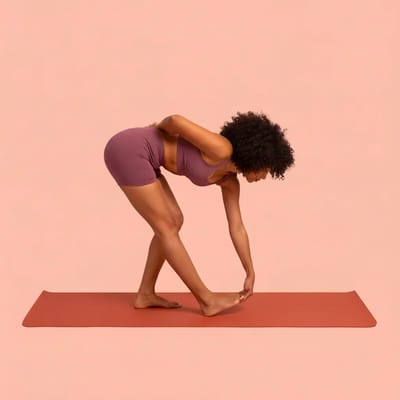
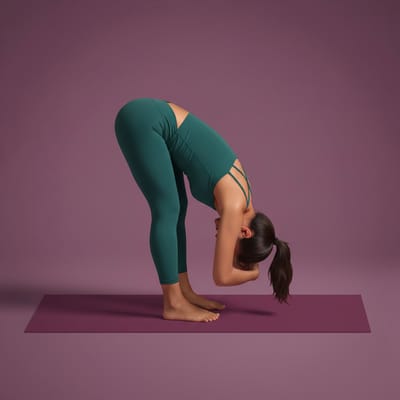
both sidesRag Doll
rag-doll
BeginnerReclined Butterfly
reclined-butterfly
BeginnerReverse Butterfly
reverse-butterfly
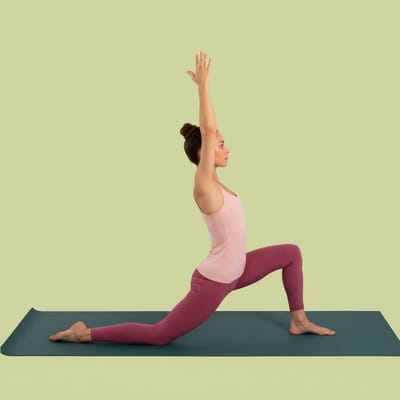
BeginnerReverse Lunge
reverse-lunge
Beginner
both sidesReverse Plank
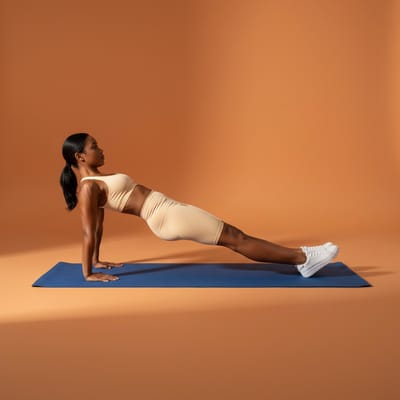
reverse-plank
BeginnerReverse Plank Leg Lift
reverse-plank-leg-lift
Intermediate
both sidesReverse Prayer Pose
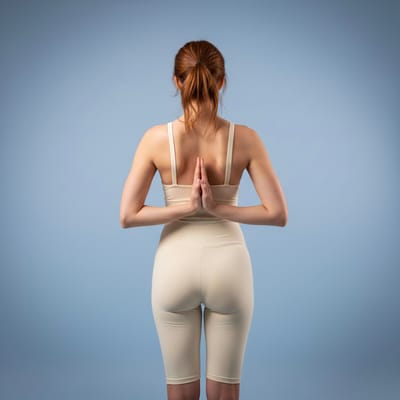
reverse-prayer-pose
IntermediateReverse Shoulder
reverse-shoulder
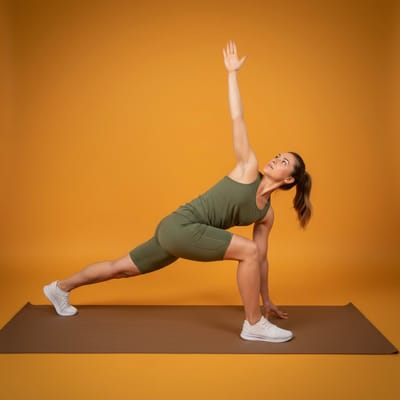
BeginnerRunner's Lunge Twist
runners-lunge-twist
Intermediate
both sidesSaddle Pose
saddle-pose
AdvancedScalene Stretch
scalene-stretch
Beginner
both sidesScapula Stretch
scapula-stretch
Beginner
both sidesSeated Chest
seated-chest
BeginnerSeated Figure Four
seated-figure-four
Beginner
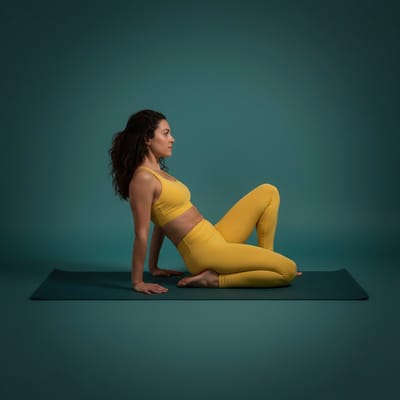
both sidesSeated Fold
seated-fold
BeginnerSeated Hamstring
seated-hamstring
Beginner
both sidesSeated Straddle
seated-straddle
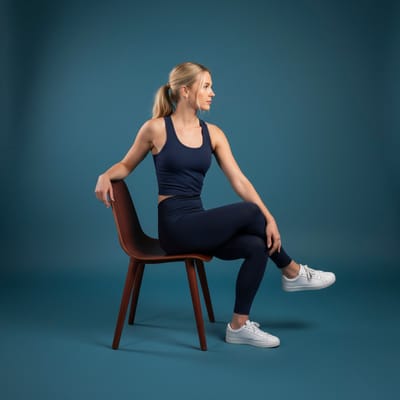
IntermediateSeated Twist
seated-twist
Beginner
both sidesShoulder Cross
shoulder-cross
Beginner
both sidesShoulder Opener
shoulder-opener
Beginner
both sidesShoulder Rolls
shoulder-rolls
Beginner
both sidesShoulder Stand
shoulder-stand
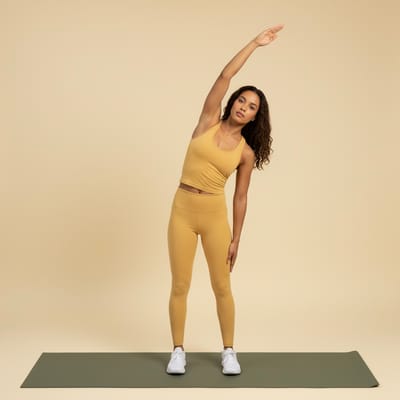
AdvancedSide Bend
side-bend
Beginner
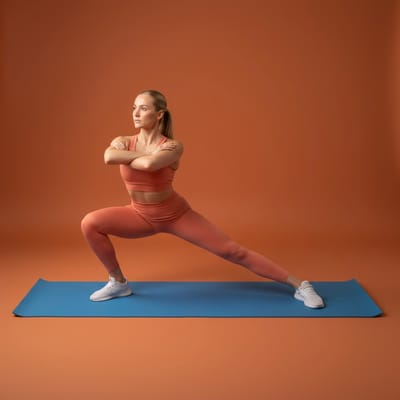
both sidesSide Lunge
side-lunge
Beginner
both sidesSide Lunge Hold
side-lunge-hold
Intermediate
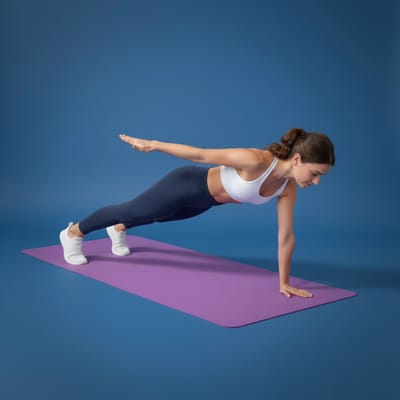
both sidesSingle Arm Plank
single-arm-plank
Intermediate
both sidesSingle Knee-to-Chest
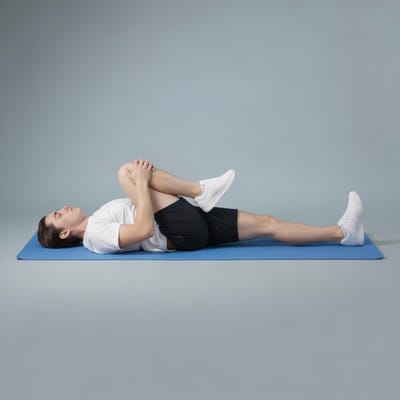
single-knee-to-chest
Beginner
both sidesSingle Leg Calf Stretch
single-leg-calf-stretch
Beginner
both sidesSingle Leg Deadlift
single-leg-deadlift
Intermediate
both sidesSingle Leg Glute Bridges
single-leg-glute-bridges
Intermediate
both sidesSingle Leg Shin Stretch
single-leg-shin-stretch
Beginner
both sidesSingle Leg Stand
single-leg-stand
Beginner
both sidesSoleus Stretch
soleus-stretch
Beginner
both sidesSpiderman Push Up Hold
spiderman-push-up-hold
Advanced
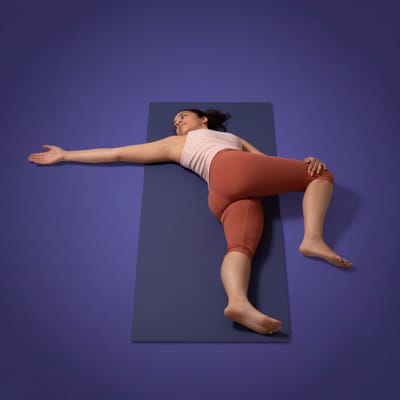
both sidesSpinal Twist
spinal-twist
Beginner
both sidesSplit Lunge Hold
split-lunge-hold
Intermediate
both sidesSplit Squats
split-squats
Intermediate
both sidesSquat Hold
squat-hold
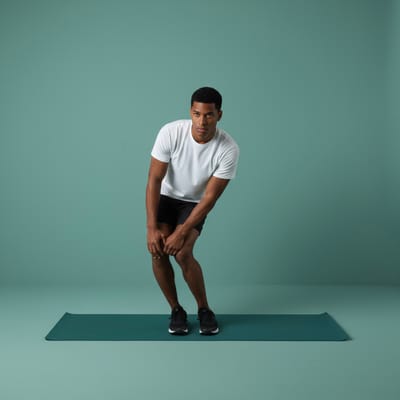
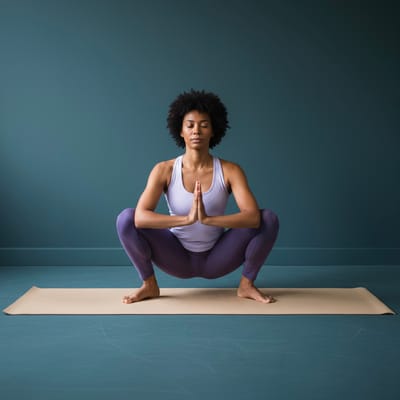
BeginnerSquat Stretch
squat-stretch
BeginnerStanding Frog
standing-frog
BeginnerStanding Hip Openers
standing-hip-openers
BeginnerStanding Lunge Twist
standing-lunge-twist
Intermediate
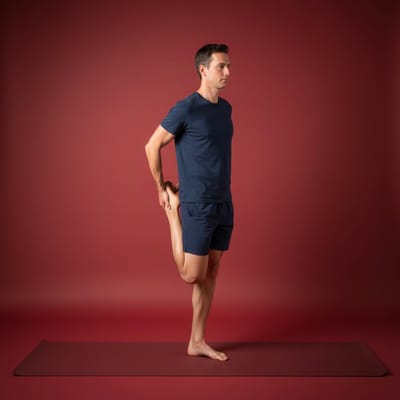
both sidesStanding Quad
standing-quad
Beginner
both sidesSumo Squat Hold
sumo-squat-hold
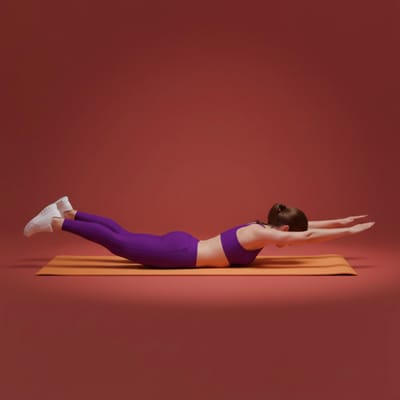
BeginnerSuperman
superman
BeginnerThread the Needle
thread-the-needle
Beginner
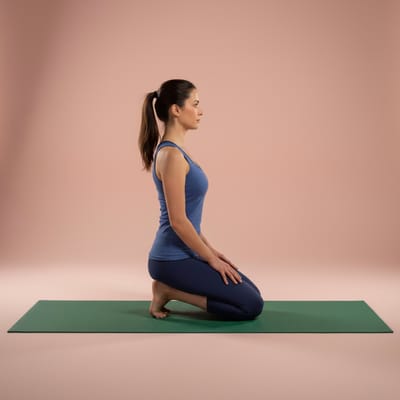
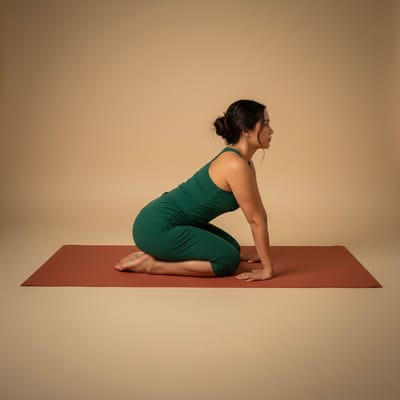
both sidesThunderbolt
thunderbolt
BeginnerToe Raises
toe-raises
BeginnerToe Squat
toe-squat
BeginnerToe Stretch
toe-stretch
Beginner
both sidesToe-to-Wall
toe-to-wall
Beginner
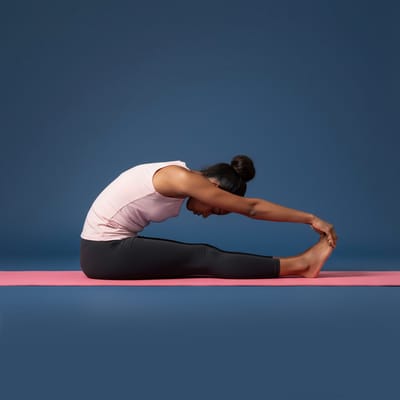
both sidesToe Touch
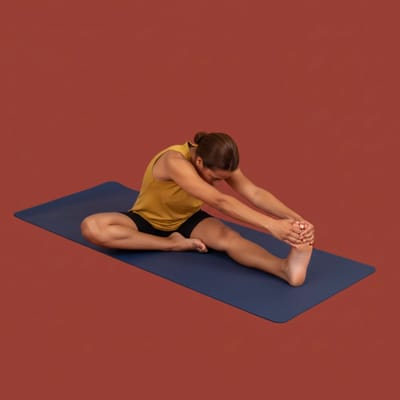
toe-touch
BeginnerToe Touch Hold
toe-touch-hold
IntermediateToe Touch Twist
toe-touch-twist
BeginnerTrunk Rotation
trunk-rotation
Beginner
both sidesTrunk Twist
trunk-twist
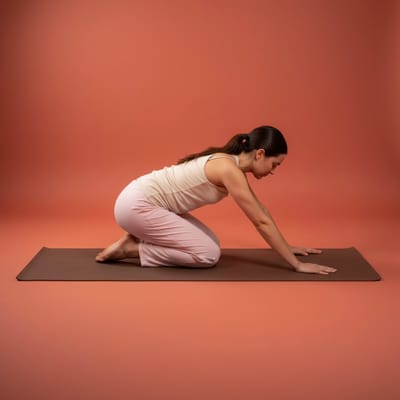
BeginnerTwisted Sphinx
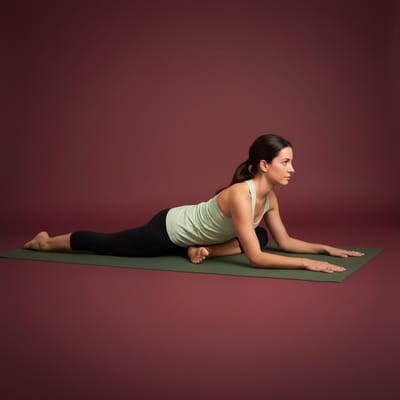
twisted-sphinx
Beginner
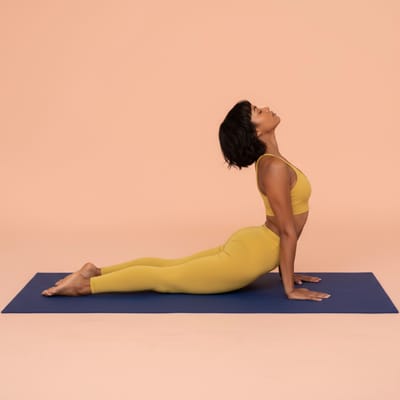
both sidesUpward Dog
upward-dog
BeginnerUpward Frog
upward-frog
Intermediate
both sidesUpward Salute
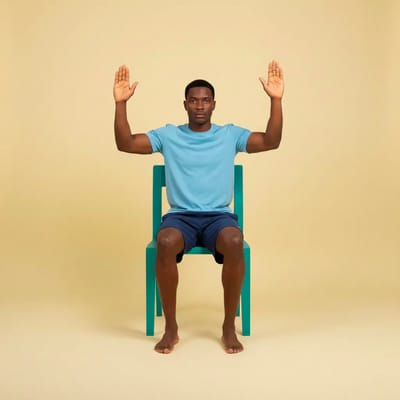
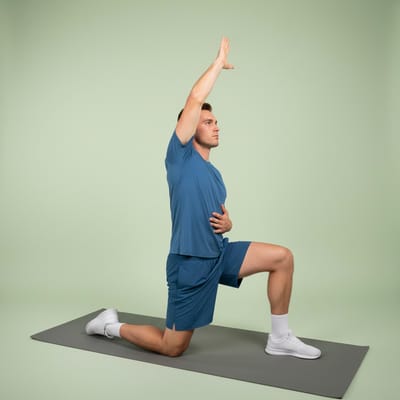
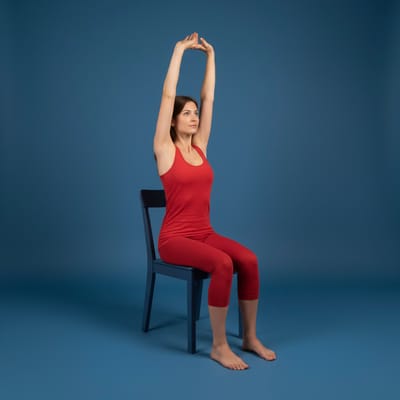
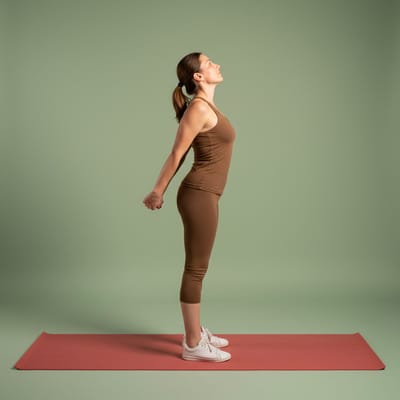
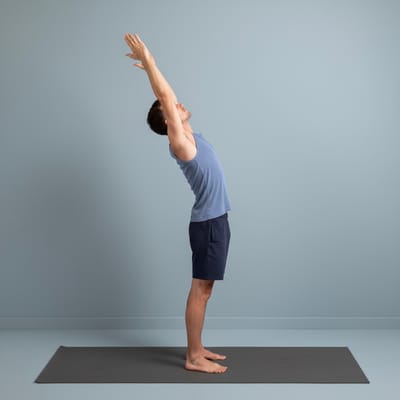
upward-salute
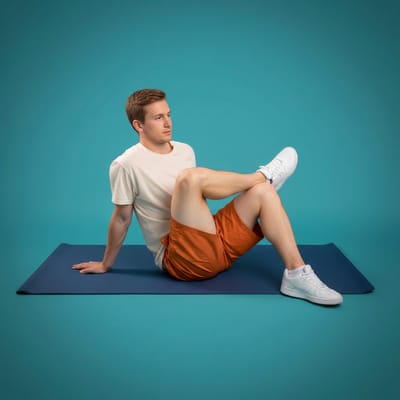
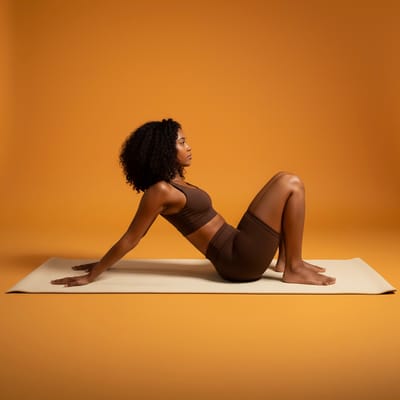
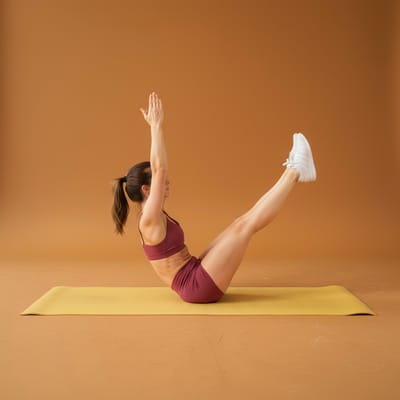
BeginnerV-Sit
v-sit
IntermediateWall Arms
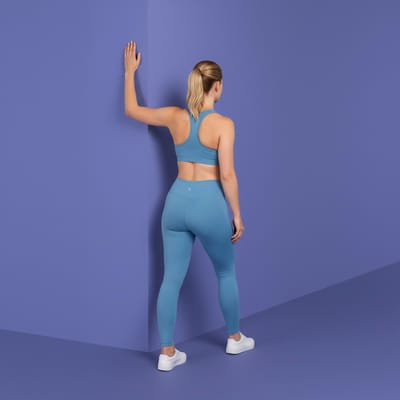
wall-arms
Beginner
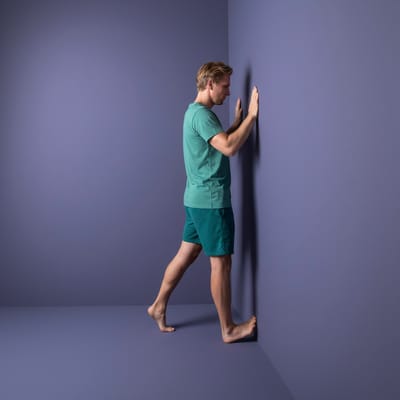
both sidesWall Dog
wall-dog
BeginnerWall Handstand
wall-handstand
AdvancedWall Pecs
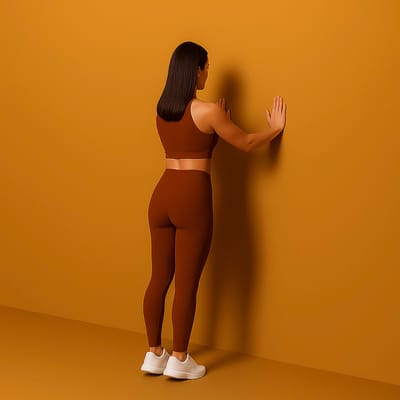
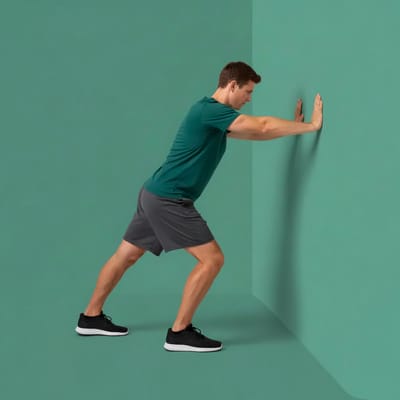
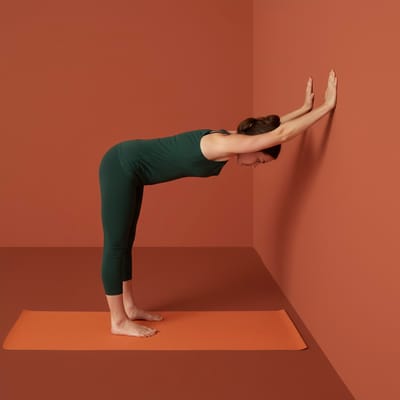
wall-pecs
Beginner
both sidesWall Pike
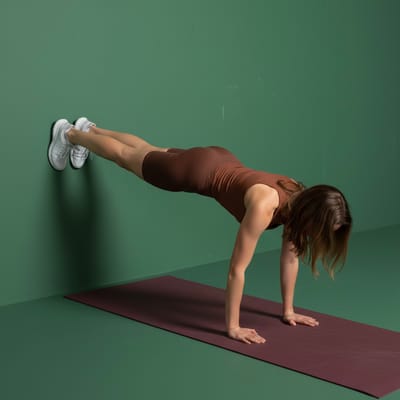
wall-pike
IntermediateWall Plank
wall-plank
IntermediateWall Sit
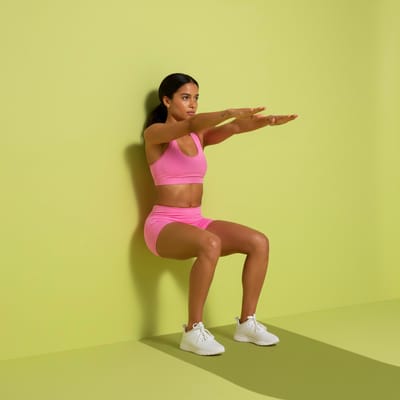
wall-sit
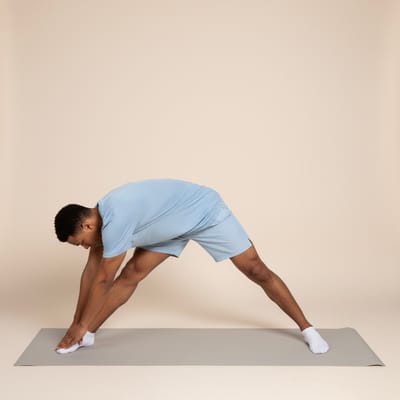
BeginnerWide Leg Bend
wide-leg-bend
BeginnerWide Leg Side Bend
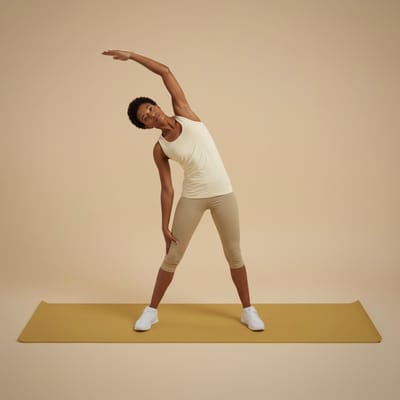
wide-leg-side-bend
Beginner
both sidesWide Leg Toe Touches
wide-leg-toe-touches
BeginnerWide Leg Torso Circles
wide-leg-torso-circles
Beginner
both sidesWrist Circles
wrist-circles
BeginnerWrist Extension
wrist-extension
BeginnerWrist Flexion
wrist-flexion
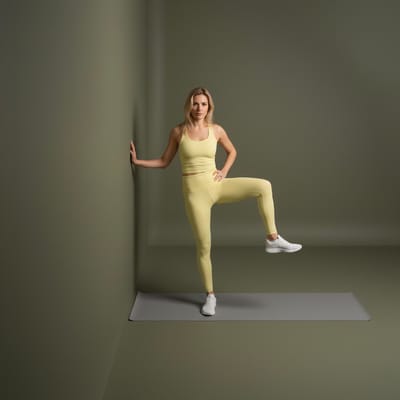
BeginnerZombie Walks
zombie-walks
Beginner